Intervalometer
Making an intervalometer with a Rasberry Pi.
This project's source code is available on GitHub. My implementation uses a Rasberry Pi Model 3 B+, and pictured is the wonderful Zebra Black Ice case available from C4 Labs.
Introduction
I enjoy photography, and a new interest has been astrophotography. Generally, it involves taking a series of many photographs, then stacking them in post processing to remove noise introduced when shooting long exposures at high ISOs at night. Unfortunately for me, I own the Nikon D3400 DSLR. This model doesn't have any input for an intervalometer (a device which connects to the camera and triggers a set count of exposures remotely).
After some research, I discovered it was fairly straightforward to remotely control the D3400 as well as many other cameras from a computer via USB cable, however, I wanted a portable solution. Given the poor battery life of my old laptop, that didn't seem like a good option, and a new camera body was more money than I wanted to spend on a brand new hobby.
gphoto2
Given these constraints, I decided to move forward using a Raspberry Pi as my intervalometer. There is an excellent open source camera control library called gphoto2, which appeared to have all of the functionality I needed; primarily, shutter speed control, and the ability to trigger exposures. Additionally, it is available on Raspbian via APT.
The documentation was somewhat vague on bulb shutter speed (it states it doesn't work on newer Nikon devices), however I was able to find a commit a few years ago in which support was added. After some experimentation I determined it worked on the D3400 and used the same CLI flags as Canon.
Flask
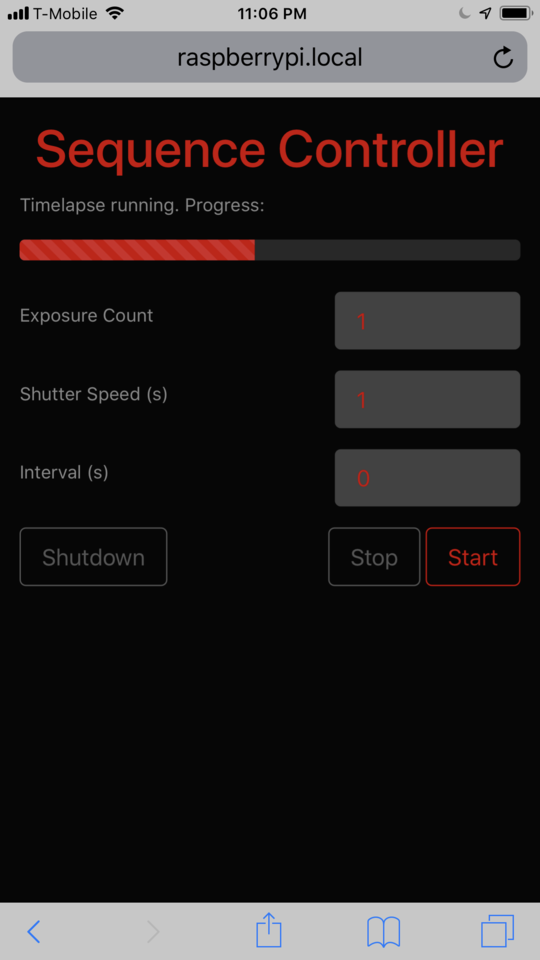
Initially, I explored a few different options for an interface using some sort of LCD screen. None were the right price for this project, but my friend had the excellent idea to use a web application for the interface. I wrote a very simple website using Flask, and set up the Raspberry Pi as an access point, as well as configuring it to run the Flask application on boot using Gunicorn.

The interface allows you to start a capture sequence, specifying a shutter speed and an interval between shots. Under the hood, a request calls "process handler" which spawns a new process on the Pi, passing the parameters to a Python gphoto2 wrapper to execute the sequence, noting the PID. This process writes a file telling its progress (which is watched by the UI), and can later be cancelled if necessary. I'm sure there are better ways to achieve this but it works and is stable, so it is sufficient for my purposes.
Conclusion
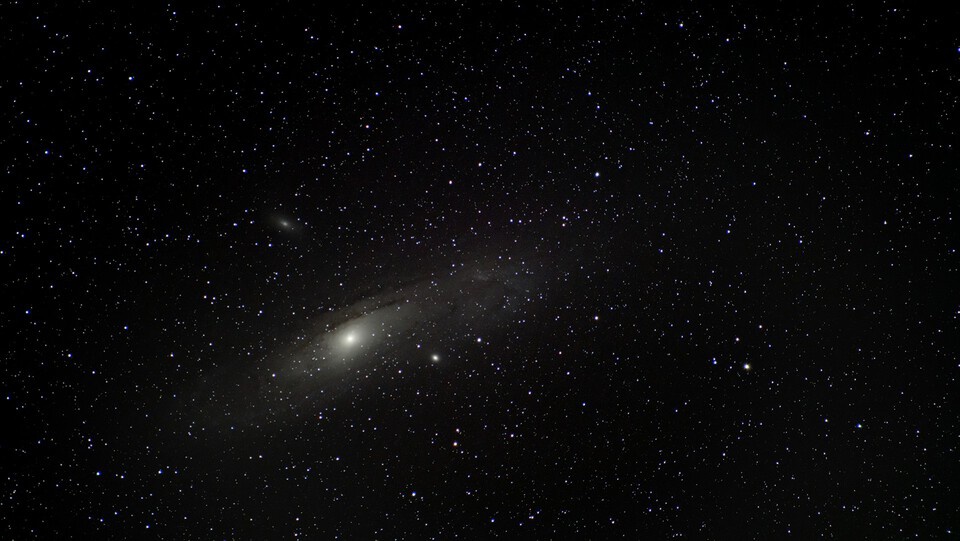
I wouldn't recommend this route for anyone who has a camera with remote shutter support out of the box; it was a lot of time for something that's a few bucks. If you've got the D3400 and a knack for computers, this might be a cheaper route than upgrading your camera body. It's definitely not easier. With this intervalometer and a star tracker, I was able to capture this image from my back deck. Not a bad result.
